Set up your thermal printer.
Connect a Bluetooth receipt printer to Raad in about a minute, here's exactly how.
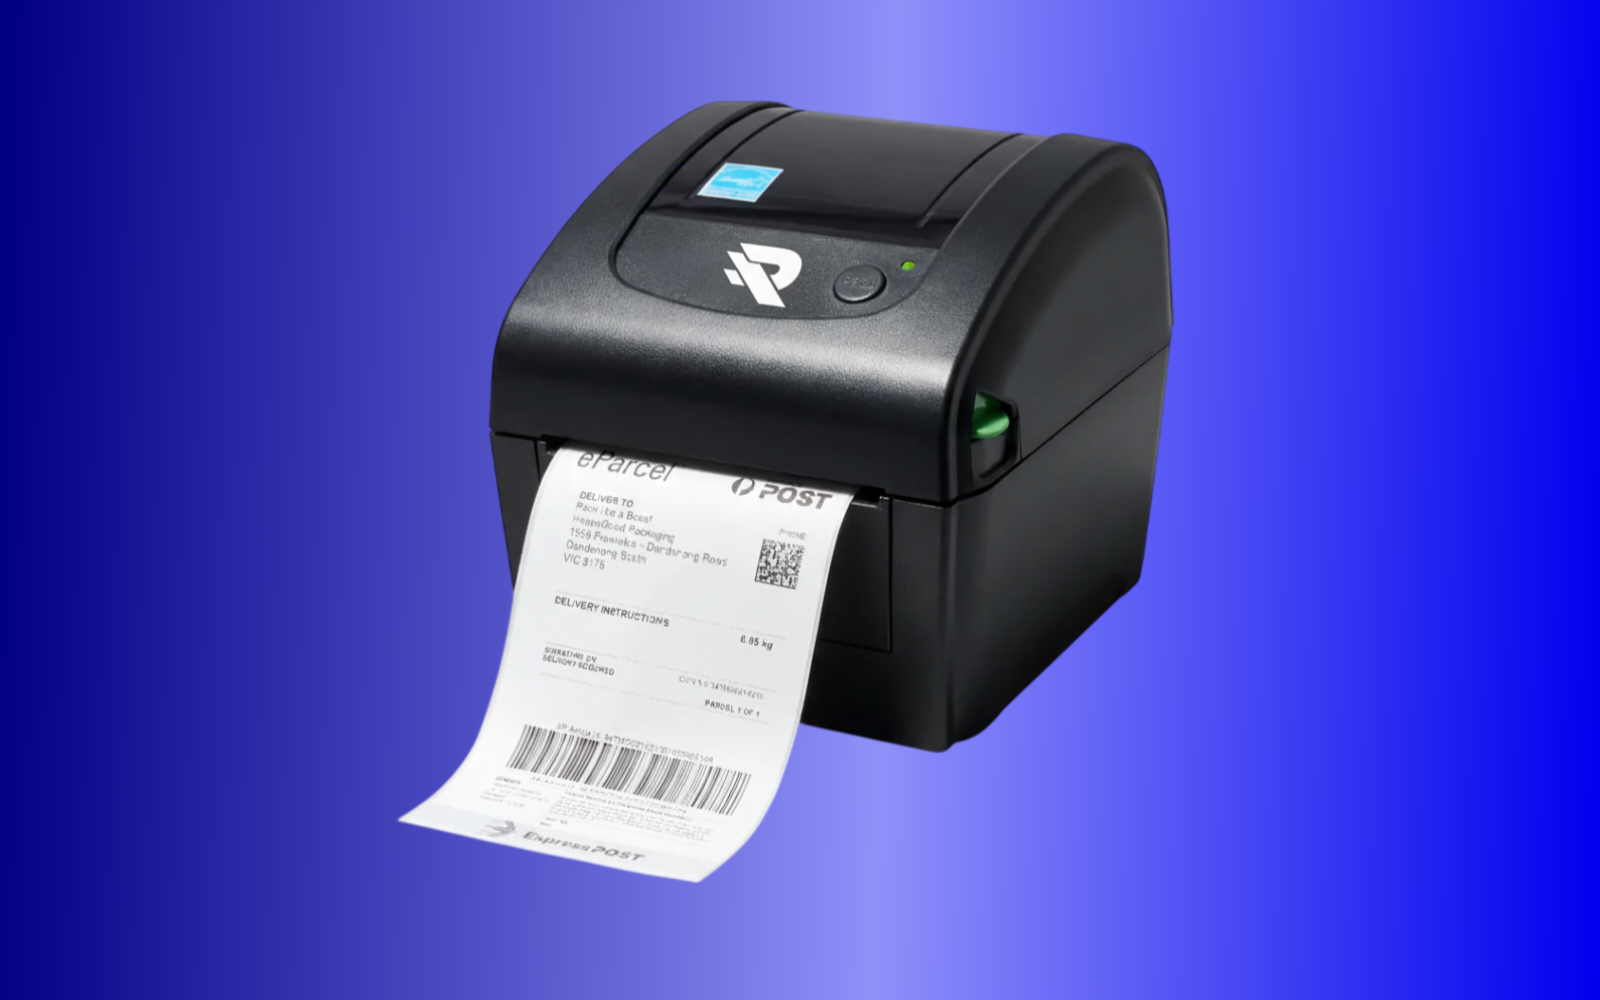
Pair it in five steps
Power on & load paper
Switch on the printer and load a roll of thermal paper, Raad supports both 58mm and 80mm widths.
Enable Bluetooth on your phone
Turn on Bluetooth and keep the printer within a couple of metres while you pair.
Pair the printer
Open your phone's Bluetooth settings and pair with the printer. If it asks for a PIN, it's usually 0000 or 1234.
Connect it in Raad
In Raad, go to Settings → Printer → Add printer, then choose your device from the list of paired devices.
Print a test receipt
Tap Print test. Once it prints cleanly, every sale can print a receipt automatically, or on demand.
Using a USB printer on the Web POS
On a computer you run Raad from your browser at pos.raadapp.com/settings. To print to a USB thermal printer, the browser needs the WinUSB driver, you install it once with a free tool called Zadig.
Before you start
You'll need a Windows PC, your thermal printer connected by USB, and about five minutes. You only do this once per printer.Get Zadig
Go to zadig.akeo.ie and download it. It's a single .exe, no install needed. Just run it, and allow it through any admin prompt.
Plug in the printer
Connect your thermal printer by USB and power it on before the next steps.
Show all devices
In Zadig, open the Options menu → click List All Devices (it should get a checkmark). This is essential, without it your printer won't appear in the list.
Pick your printer from the dropdown
The dropdown now lists everything. Find your thermal printer, it may show as “Thermal Printer”, a generic “USB Printing Support”, or a model code. Read the warning below before you select it.
Set the target driver to WinUSB
On the right there's a box showing the target driver with a green arrow. Make sure it reads WinUSB, if there's an up/down arrow, set it to WinUSB.
Replace the driver
Click Replace Driver (it may say Install Driver if there's none yet) and confirm any prompt. It takes 10–30 seconds, wait for the success message.
Re-test in Raad
Unplug and replug the printer, reload pos.raadapp.com, open the Printer tab, click USB and pick the printer. It should now open without the access-denied error, then click Test print.
Select the printer, and nothing else
This is the one step to be careful on. Replacing the driver on the wrong device, a mouse, keyboard, Wi-Fi adapter, or USB hub, will break it. Not sure which entry is the printer? Unplug it, note what disappears from the list, plug it back in, and select the entry that reappears.Dropdown empty? Turn on “List All Devices”
If the dropdown is empty, you haven't enabled it yet. Open Options → List All Devices (it should get a checkmark), then reopen the dropdown. Still empty? Unplug the printer, watch the list, plug it back in, and select the entry that appears.Saw “Driver Installation: SUCCESS” with an empty dropdown?
Zadig may have applied WinUSB to whatever was selected. First, check your mouse, keyboard, and other USB devices still work normally. If something broke, reverse it: open Device Manager → find the device → Uninstall device → then unplug and replug it to restore the original driver.Good to know
Once WinUSB is installed, Windows' normal printing for this printer is replaced, it becomes browser-only. For a dedicated POS receipt printer that's exactly what you want. But if you also print to this printer from Word or other apps, don't do this, or reverse it later via Device Manager → uninstall device → replug to restore the default driver.Printer not showing?
Re-pair it from your phone's Bluetooth settings, then reopen Add printer in Raad.
Text looks garbled?
Make sure the paper width in Settings (58 or 80mm) matches your printer.
Stops mid-shift?
Keep the printer charged and within Bluetooth range of the phone.
Need a hand setting up?
Our team can walk you through connecting any device, just reach out.